Today, we will talk about the essential practice of grounding your turntable. This ensures that your music comes through clean, crisp, and grooving. By connecting a grounding wire to the right spot on your amp or receiver, you, figuratively, create a safe path for the undesirable noise to flow. This action is a simple fix that can significantly improve your listening experience. Trust me, you will hear the difference!
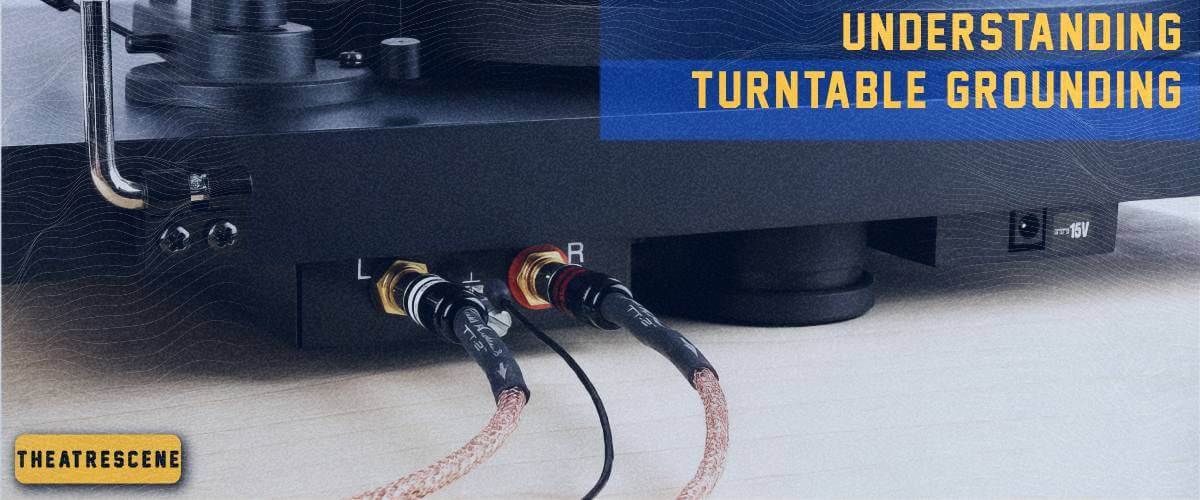
Understanding turntable grounding

In my opinion, if you really want to enjoy your music sessions, understanding the whole process of grounding is essential. So, let’s delve deeper into this topic and see what it’s all about.
What Is Grounding?
Grounding, also known as earthing, is a technique that helps to eliminate this electrical noise and ensure your turntable performs at its best. When you ground your turntable, you help prevent the buildup of static electricity and reduce potential interference, resulting in a cleaner audio signal.
Why Grounding a Turntable Is Essential
I can compare this process to finding a quiet corner in the cafeteria for your conversation. Turntable ground eliminates the buzzing and disturbances, allowing the music to come out naturally. So, I’ll say again: grounding is essential if you want to enjoy your listening sessions free from unwanted noise and distortions.
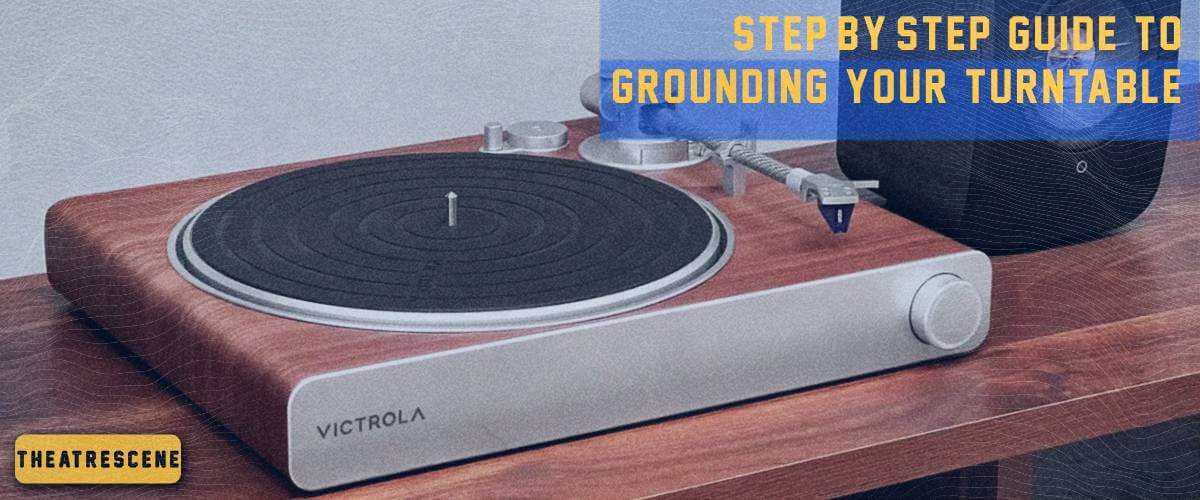
Step-by-step guide to grounding your turntable

Follow this step-by-step instruction to conduct this operation properly:
Step 1. Firstly, examine the back of your turntable for a small metal post or a labeled terminal marked “GND” (Ground).
Step 2. Hopefully, your turntable came with a ground wire. For clarity, it’s that little wire with a spade or fork-like connector at one end.
Step 3. Now, pay attention to your amplifier or receiver. Find a spot labeled “Ground” or “GND.” It’s usually close to the inputs.
Step 4. Loosen up the screw on the grounding point of your amplifier just a bit to create a little spot for our grounding wire.
Step 5. Take the end of the grounding wire with the spade or fork connector and fasten it to the “GND” or grounding post on your device. Tighten it just enough, not overkill.
Step 6. When everything is done, guide the other end of the grounding wire to the grounding point on your amplifier. If it’s a screw-type terminal, loop it around and tighten it. If it’s a dedicated spot, slide it in. Afterward, make sure both ends of the grounding wire are secure.
Step 7. To be sure everything is done successfully, grab a multimeter. Turn it to beep mode and touch one end on the turntable’s ground and the other on the amplifier’s ground. Wait for a beep – that means everything’s properly connected.
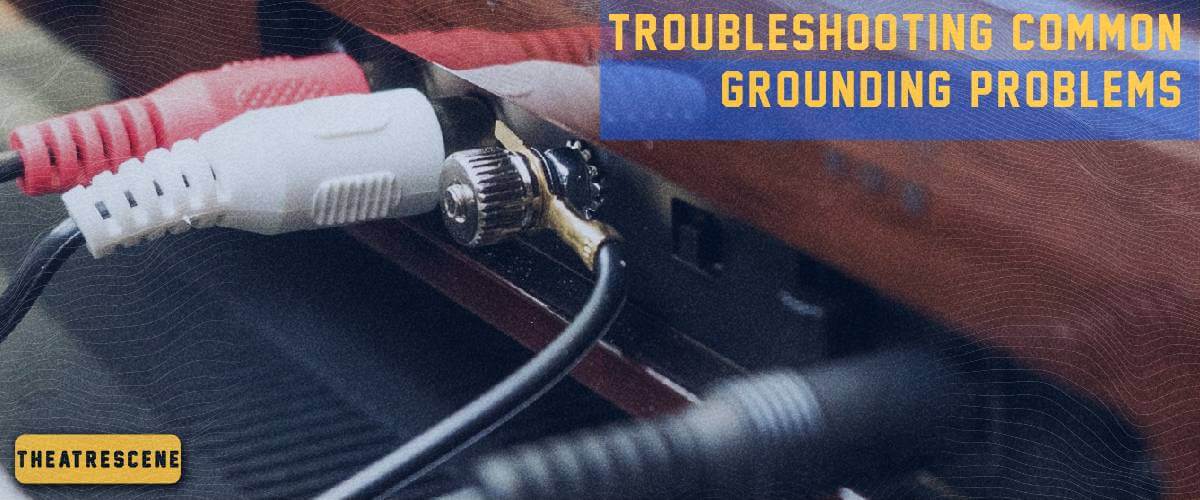
Troubleshooting common grounding problems

However, sometimes things don’t go as planned, and you might encounter unwanted noise in your music. Let’s explore the potential causes of grounding issues, and I will offer tips to prevent them from occurring in the first place.
Humming or buzzing noises
Annoying humming or buzzing noises from your turntable are cues to a grounding issue.
To handle this problem, you should ensure the grounding wire is securely attached to both the turntable and the amplifier’s grounding point.
Weak or no audio signal
Are you experiencing a weak or no audio signal? Double-check the grounding wire connection. If the connection is secure, try cleaning the contacts because dust and grime can affect the signal quality. If the issue persists, consider replacing the grounding wire, as it might be damaged.
Interference from other electronic devices
If unwanted noise is coming out of your turntable, it could be due to interference from nearby electronic devices.
Identify and move electronic devices close to your turntable to address this issue. It could be Wi-Fi routers, smartphones, or fluorescent lights. You have to create some distance between them and your model. Additionally, I’d recommend ensuring a solid ground connection because a well-grounded turntable is better at rejecting interference. If the problem persists, consider using shielded cables or relocating your setup.


